The Concept
I’m constantly trying to improve my effectiveness when working on things, especially with projects that have deadlines—uni assignments, client projects, side projects that somehow become main projects. It’s so easy for me to over-engineer these types of things, as I’m the kind of person who does things because I love them—I’m a passionate person.
Well, enter not procrastination, but rather, the opposite: the never-ending cycle of wanting to make this as perfect as humanly possible. This is where Fokus comes in.
I’ve been into Pomodoro timing for a long time, using random apps to help myself stay focused, but all these apps have had at least one thing wrong with them. Some were RAM hogs, using hundreds of MBs for what’s essentially a glorified countdown timer. Others had terrible UI, burying simple controls under hidden menus. The worst offenders managed to be both: Electron apps.
I decided to simplify the concept into a simple Rust TUI (terminal user interface). If I’m in front of my computer, I have my terminal open, either using Spotify, NeoVim, or some other cool TUI app. So I thought, a Pomodoro timer here would be perfect.
Why Rust?
This was my first real Rust project, and honestly, it was motivated as much by wanting to learn Rust as it was by needing a better timer. Coming from a frontend background—JavaScript, TypeScript, React—Rust is the lowest-level programming language I’ve ever worked with. I’ve never been this close to the hardware with software before.
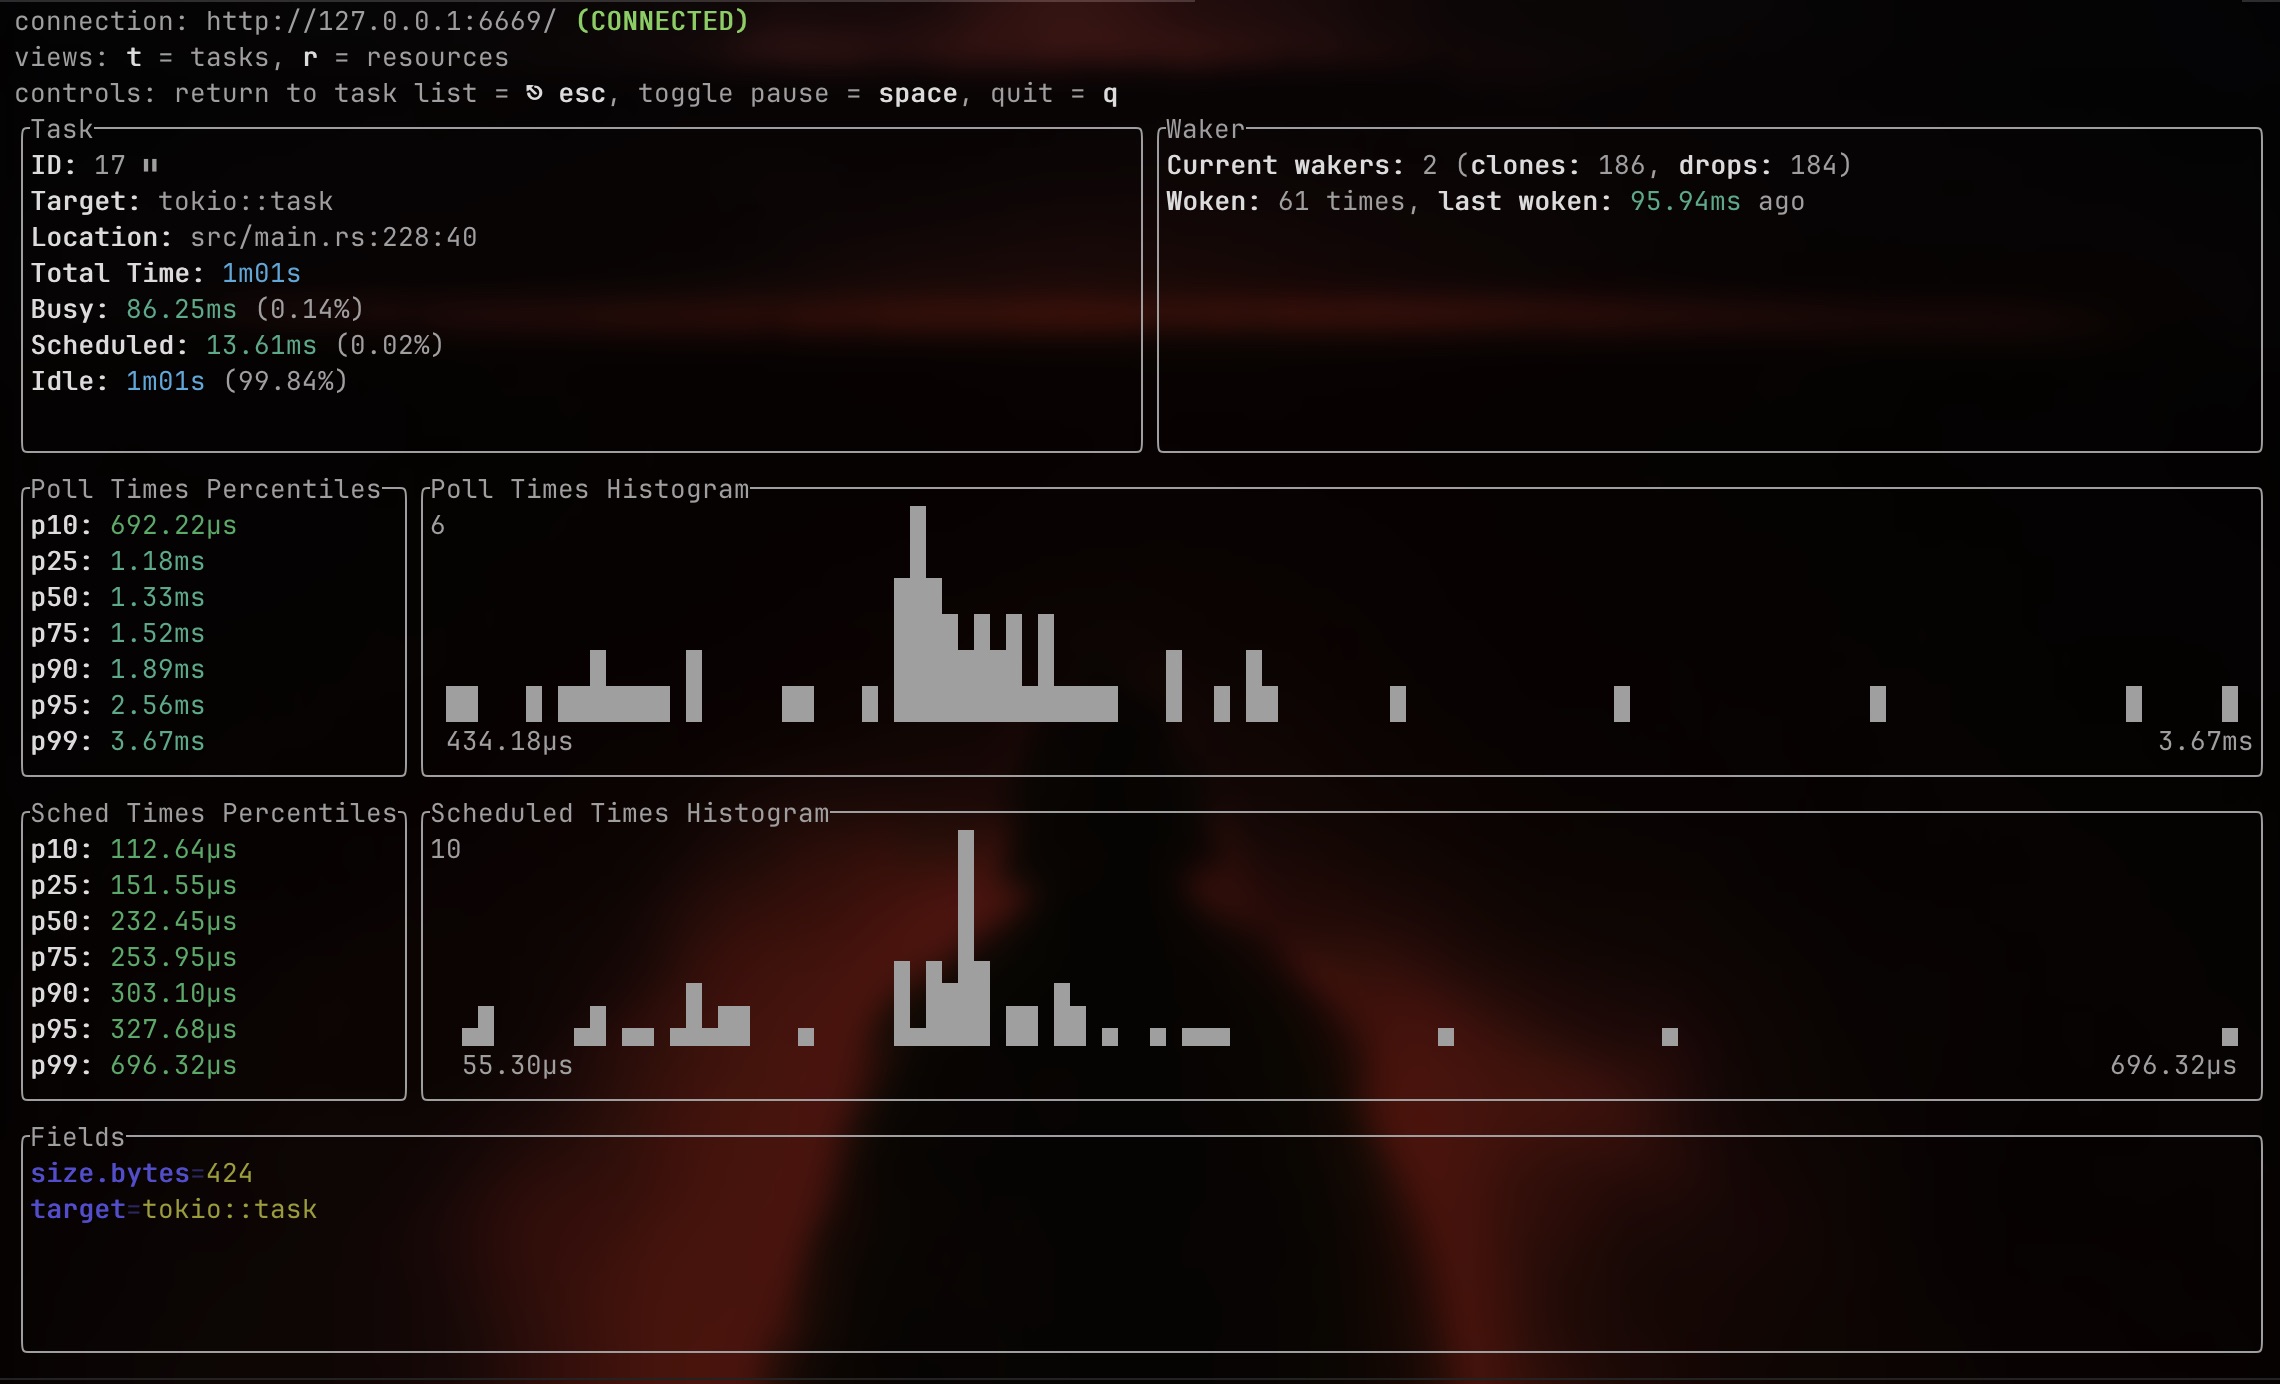
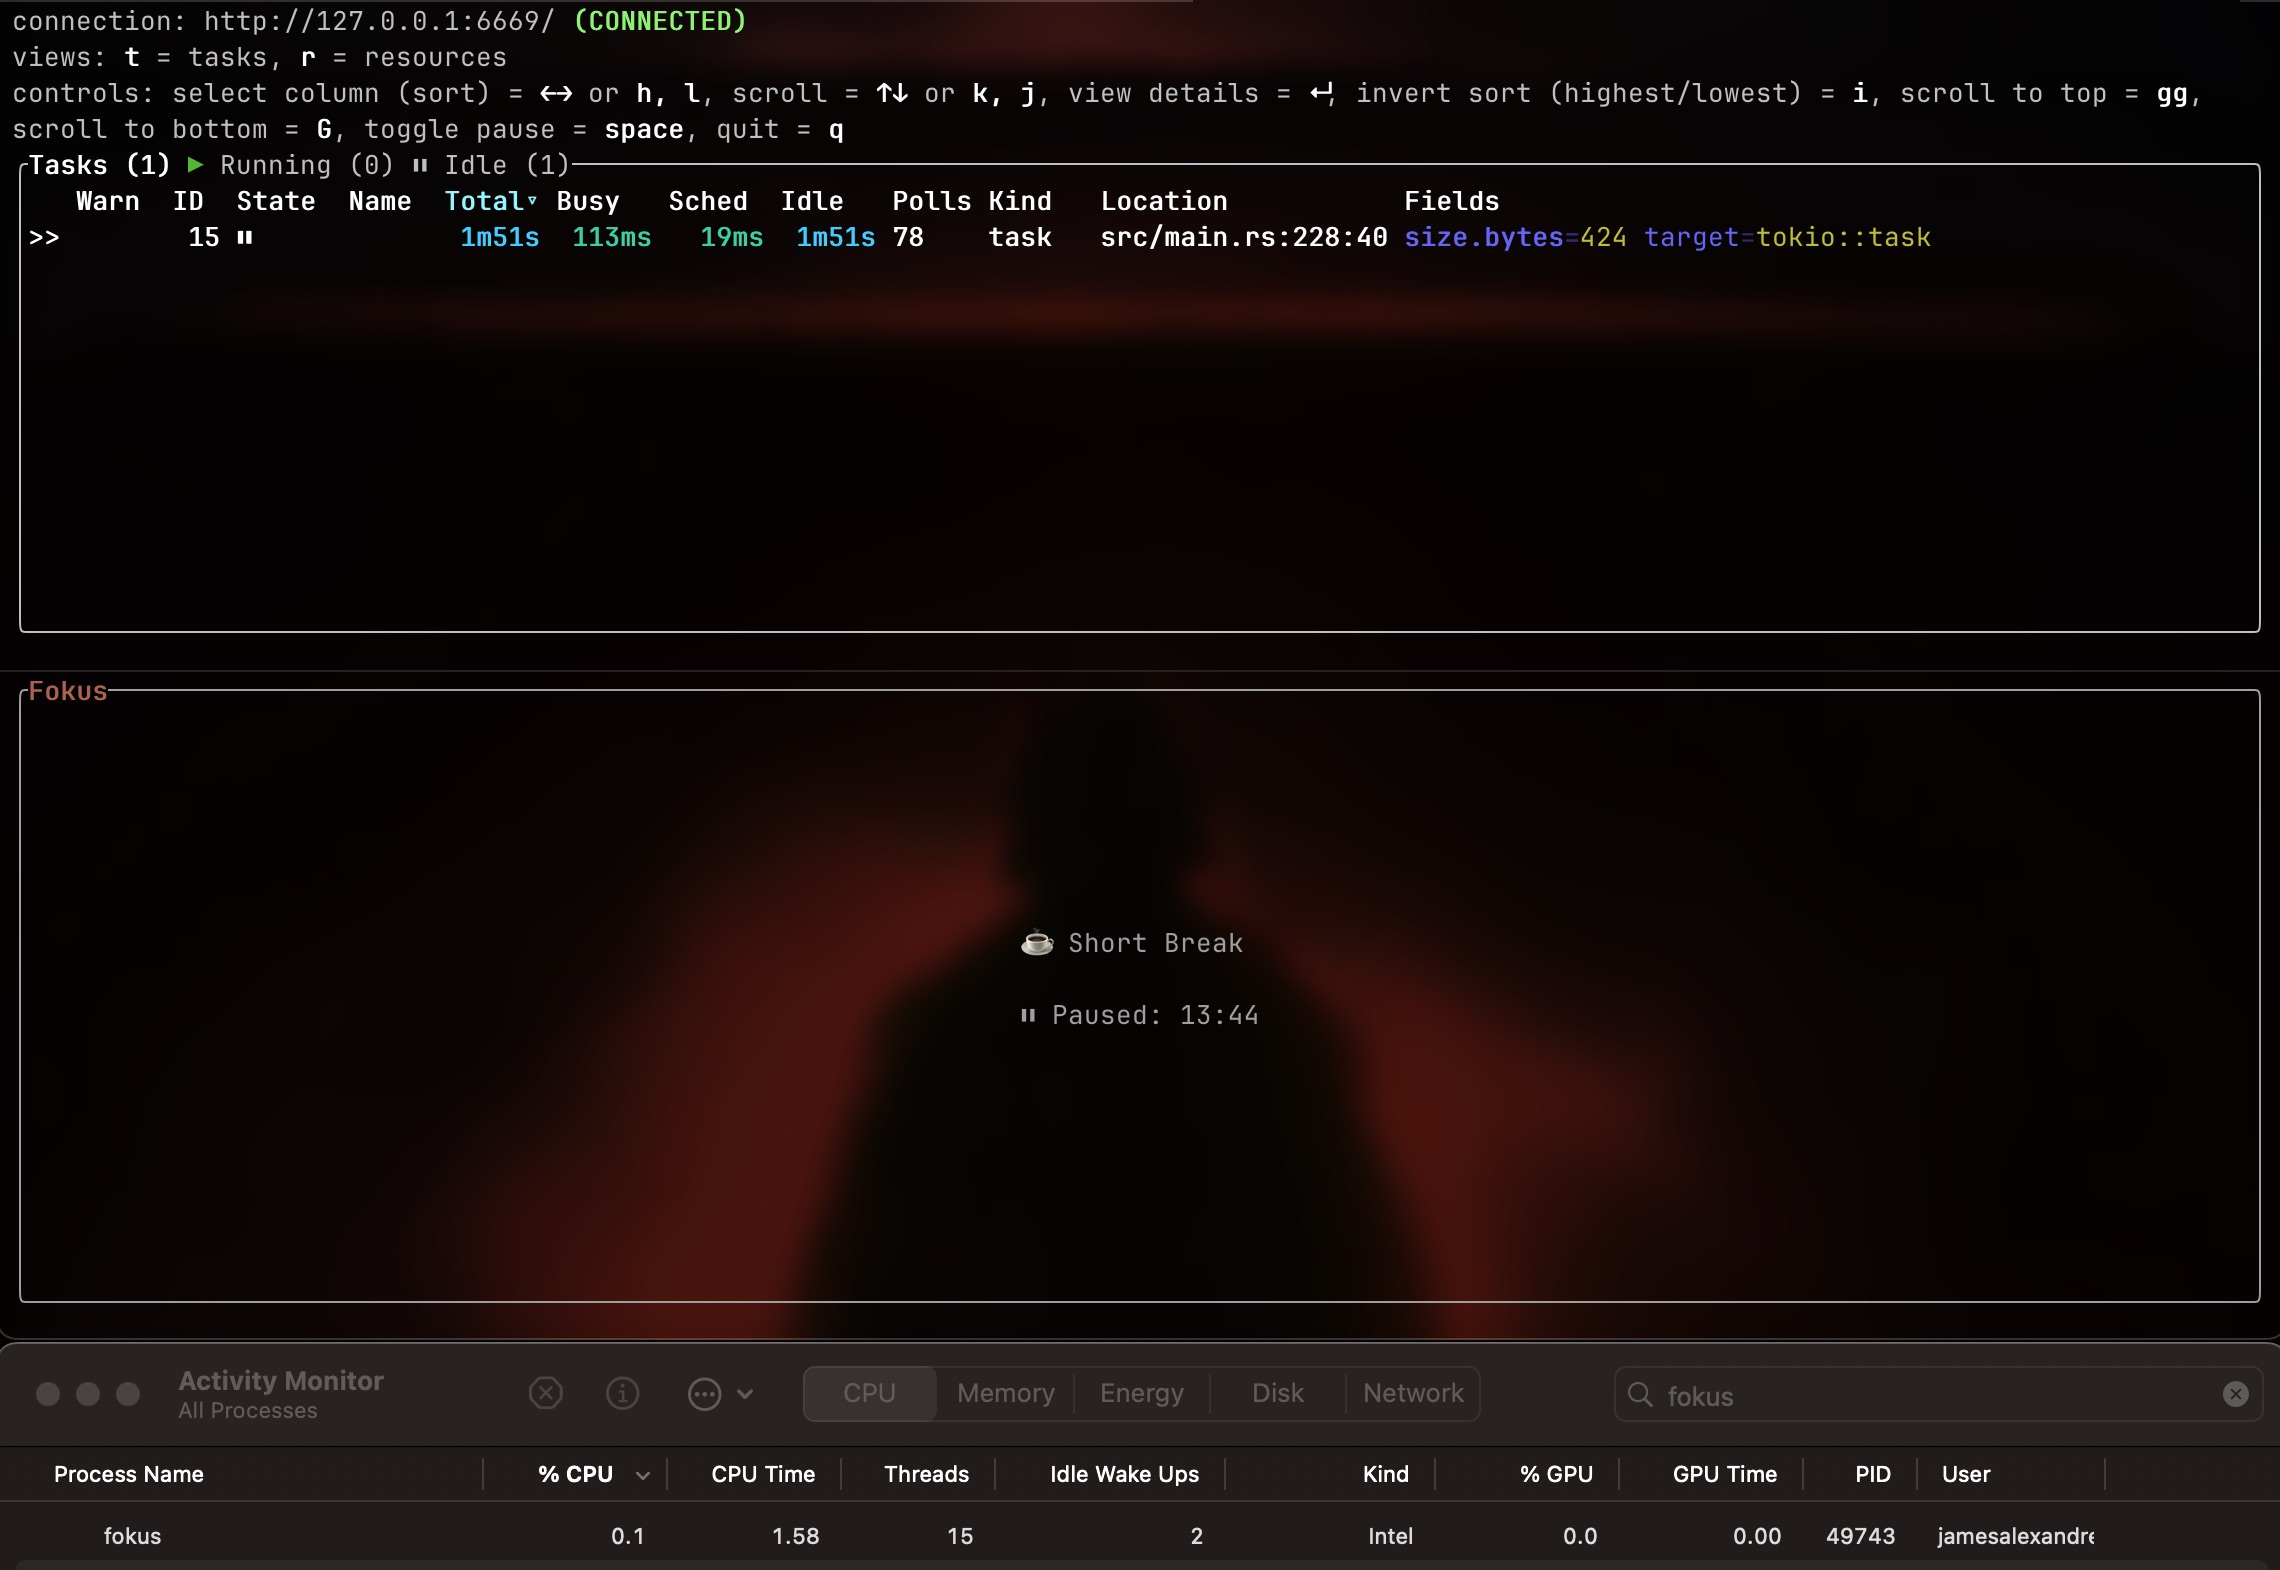
The performance characteristics aligned perfectly with my “no RAM hogs” philosophy. I wanted something that would sit idle at basically zero CPU usage and consume maybe a few megabytes of memory. Spoiler: mission accomplished.
But beyond performance, there was something appealing about Rust’s reputation for being difficult—I wanted a challenge. I wanted the compiler to yell at me. I wanted to understand what people meant when they talked about ownership and borrowing.
The Learning Curve
Coming from JavaScript (jQuery was my initial introduction to JS 15 years ago) where you can just… do whatever and hope for the best at runtime, Rust has safety measures in place that required a philosophical change to my coding. Rust isn’t being pedantic for fun, it’s preventing you from writing code that would cause a race condition or a use-after-free bug.
My IDE was riddled with squiggly lines in the beginning. I’d write something that seemed perfectly reasonable, create a value, and use it in two places. Then Rust would hit me with a “cannot move out of self.timer because it is borrowed”. I’d stare at the error for five minutes, google it, read three Stack Overflow answers, and still not quite get it.
Then something clicked. These preventative measures weren’t just the language being difficult, they were safety nets that I’d never experienced in any other language to date. These difficulties ended up being the most satisfying part of using Rust. If it compiled, there were no errors.
The Architecture
App State
pub struct App {
    // Core timer state
    current_state: TimerState,
    remaining_timer: u64,
    countdown_running: bool,
    timer_active: bool,

    // Async communication channels
    transmitter: mpsc::Sender<u64>,
    running_tx: broadcast::Sender<bool>,
    countdown_task: Option<JoinHandle<()>>,

    // UI state
    current_screen: Screen,
    settings_field: SettingsField,
    editing_field: bool,
    input_buffer: String,

    // Session tracking
    long_break_count: u64,
    stats: SessionStats,
    settings: Settings,

    // ... and more
}
You might notice I have both countdown_running and timer_active. This is one of those things that emerged from necessity: timer_active tracks whether a timer session has been started at all, while countdown_running tracks whether it’s currently ticking down or paused. This distinction matters because you can pause a timer without resetting it, and the UI needs to know the difference.
The Async Runtime Dance
Here’s where things get interesting: Tokio. The main event loop uses tokio::select! to balance two asynchronous streams:
while self.app_running {
    terminal.draw(|frame| self.draw(frame))?;

    tokio::select! {
        event = self.event_stream.next().fuse() => {
            // Handle keyboard input
            match event {
                Some(Ok(Event::Key(key))) if key.kind == KeyEventKind::Press => {
                    self.on_key_event(key);
                }
                _ => {}
            }
        }
        Some(secs) = rx.recv() => {
            // Handle timer tick updates
            self.remaining_timer = secs;
            if secs == 0 && !self.transition_pending {
                // Timer finished! Show notification and transition state
                self.handle_timer_completion();
            }
        }
    }
}
This pattern is the heartbeat of the entire application. The select! macro lets me wait on multiple async operations simultaneously—user input from the terminal and timer updates from a background task. Whichever one completes first gets handled, then we loop back around.
Coming from JavaScript’s event loop, this felt familiar but more explicit. In JS, everything’s async by default and you just trust the runtime. In Rust, you’re making conscious decisions about task spawning and communication patterns.
Even when paused, the app consumes virtually zero CPU but still responds instantly to any keypress—such as resume, skip, or reset. The select! isn’t busy-waiting, nor polling, it’s using OS event notifications to sleep until something actually happens. Coming from Electron apps that idle at 2–3% CPU, this felt like magic.
Channel Communication
I’m using two different types of channels for different purposes:
- Multi-producer, single-consumer (
mpsc) for timer updates: The countdown task sends the current remaining seconds back to the main loop. This is one-way communication—the timer talks to the UI. - Broadcast channel for pause/resume signals: When you hit pause, the main loop needs to tell the countdown task to stop ticking. Multiple receivers can subscribe to this channel (though I only use one), and it handles the case where the receiver might miss messages (if they’re not listening).
fn start_timer(&mut self) {
    // ... setup code ...

    let tx = self.transmitter.clone();
    let running_rx = self.running_tx.subscribe();

    let _ = self.running_tx.send(true);  // Tell countdown to start

    self.countdown_task = Some(tokio::spawn(async move {
        timer::countdown(duration, tx, running_rx).await;
    }));
}
The countdown runs in a separate Tokio task, ticking down and sending updates. If you pause, I broadcast a false signal and the task stops sending updates. Resume? Broadcast true and it continues.
This was one of those moments where Rust’s ownership model really shined. The channels enforce at compile-time that only one thing can receive timer updates, and I can’t accidentally create data races between the UI and timer threads.
The Details That Matter
Vim-Style Keybindings
Because I live in NeoVim, I added vim-style navigation to the settings screen:
fn handle_settings_navigation(&mut self, key: KeyEvent) {
    match key.code {
        KeyCode::Up | KeyCode::Char('k') => self.previous_setting(),
        KeyCode::Down | KeyCode::Char('j') => self.next_setting(),
        KeyCode::Enter => self.start_editing(),
        KeyCode::Esc => self.current_screen = Screen::Timer,
        _ => {}
    }
}
j and k for down and up, just like in vim. It’s muscle memory at this point, and having to use arrow keys would genuinely annoy me.
Notifications
What good is a Pomodoro timer if it doesn’t tell you when the timer is finished?
Notification::new()
    .summary("Pomodoro")
    .body(summary)
    .sound_name("Blow")
    .icon("alarm")
    .show()?;
This seems simple, but getting notifications working on macOS was… a journey. macOS requires apps to have a bundle identifier to send notifications, and terminal apps don’t have one by default. The solution was to set the bundle identifier to match Terminal.app (even though I use iTerm2):
#[cfg(target_os = "macos")]
let bundle = get_bundle_identifier_or_default("terminal");
set_application(&bundle).unwrap();
There’s commented-out code in there for interactive notifications (buttons to start the next session), but I couldn’t get the response handling working reliably across different notification systems. Something to revisit.
Using Ratatui
I chose Ratatui for the TUI framework because it’s mature, actively maintained, and relatively easy to pick up coming from a frontend dev background. The component model felt familiar—you have a render function that gets called every frame:
fn draw(&mut self, frame: &mut Frame) {
    ui::draw(self, frame);
}
Inside that ui::draw function, I’m building up the interface using Ratatui’s layout system, which is surprisingly similar to CSS flexbox. You define constraints, and it handles the positioning.
The nice thing about Ratatui is it’s immediate mode: you describe what the UI should look like right now based on the current state, and it handles the diffing and updating. Coming from React, this felt natural.
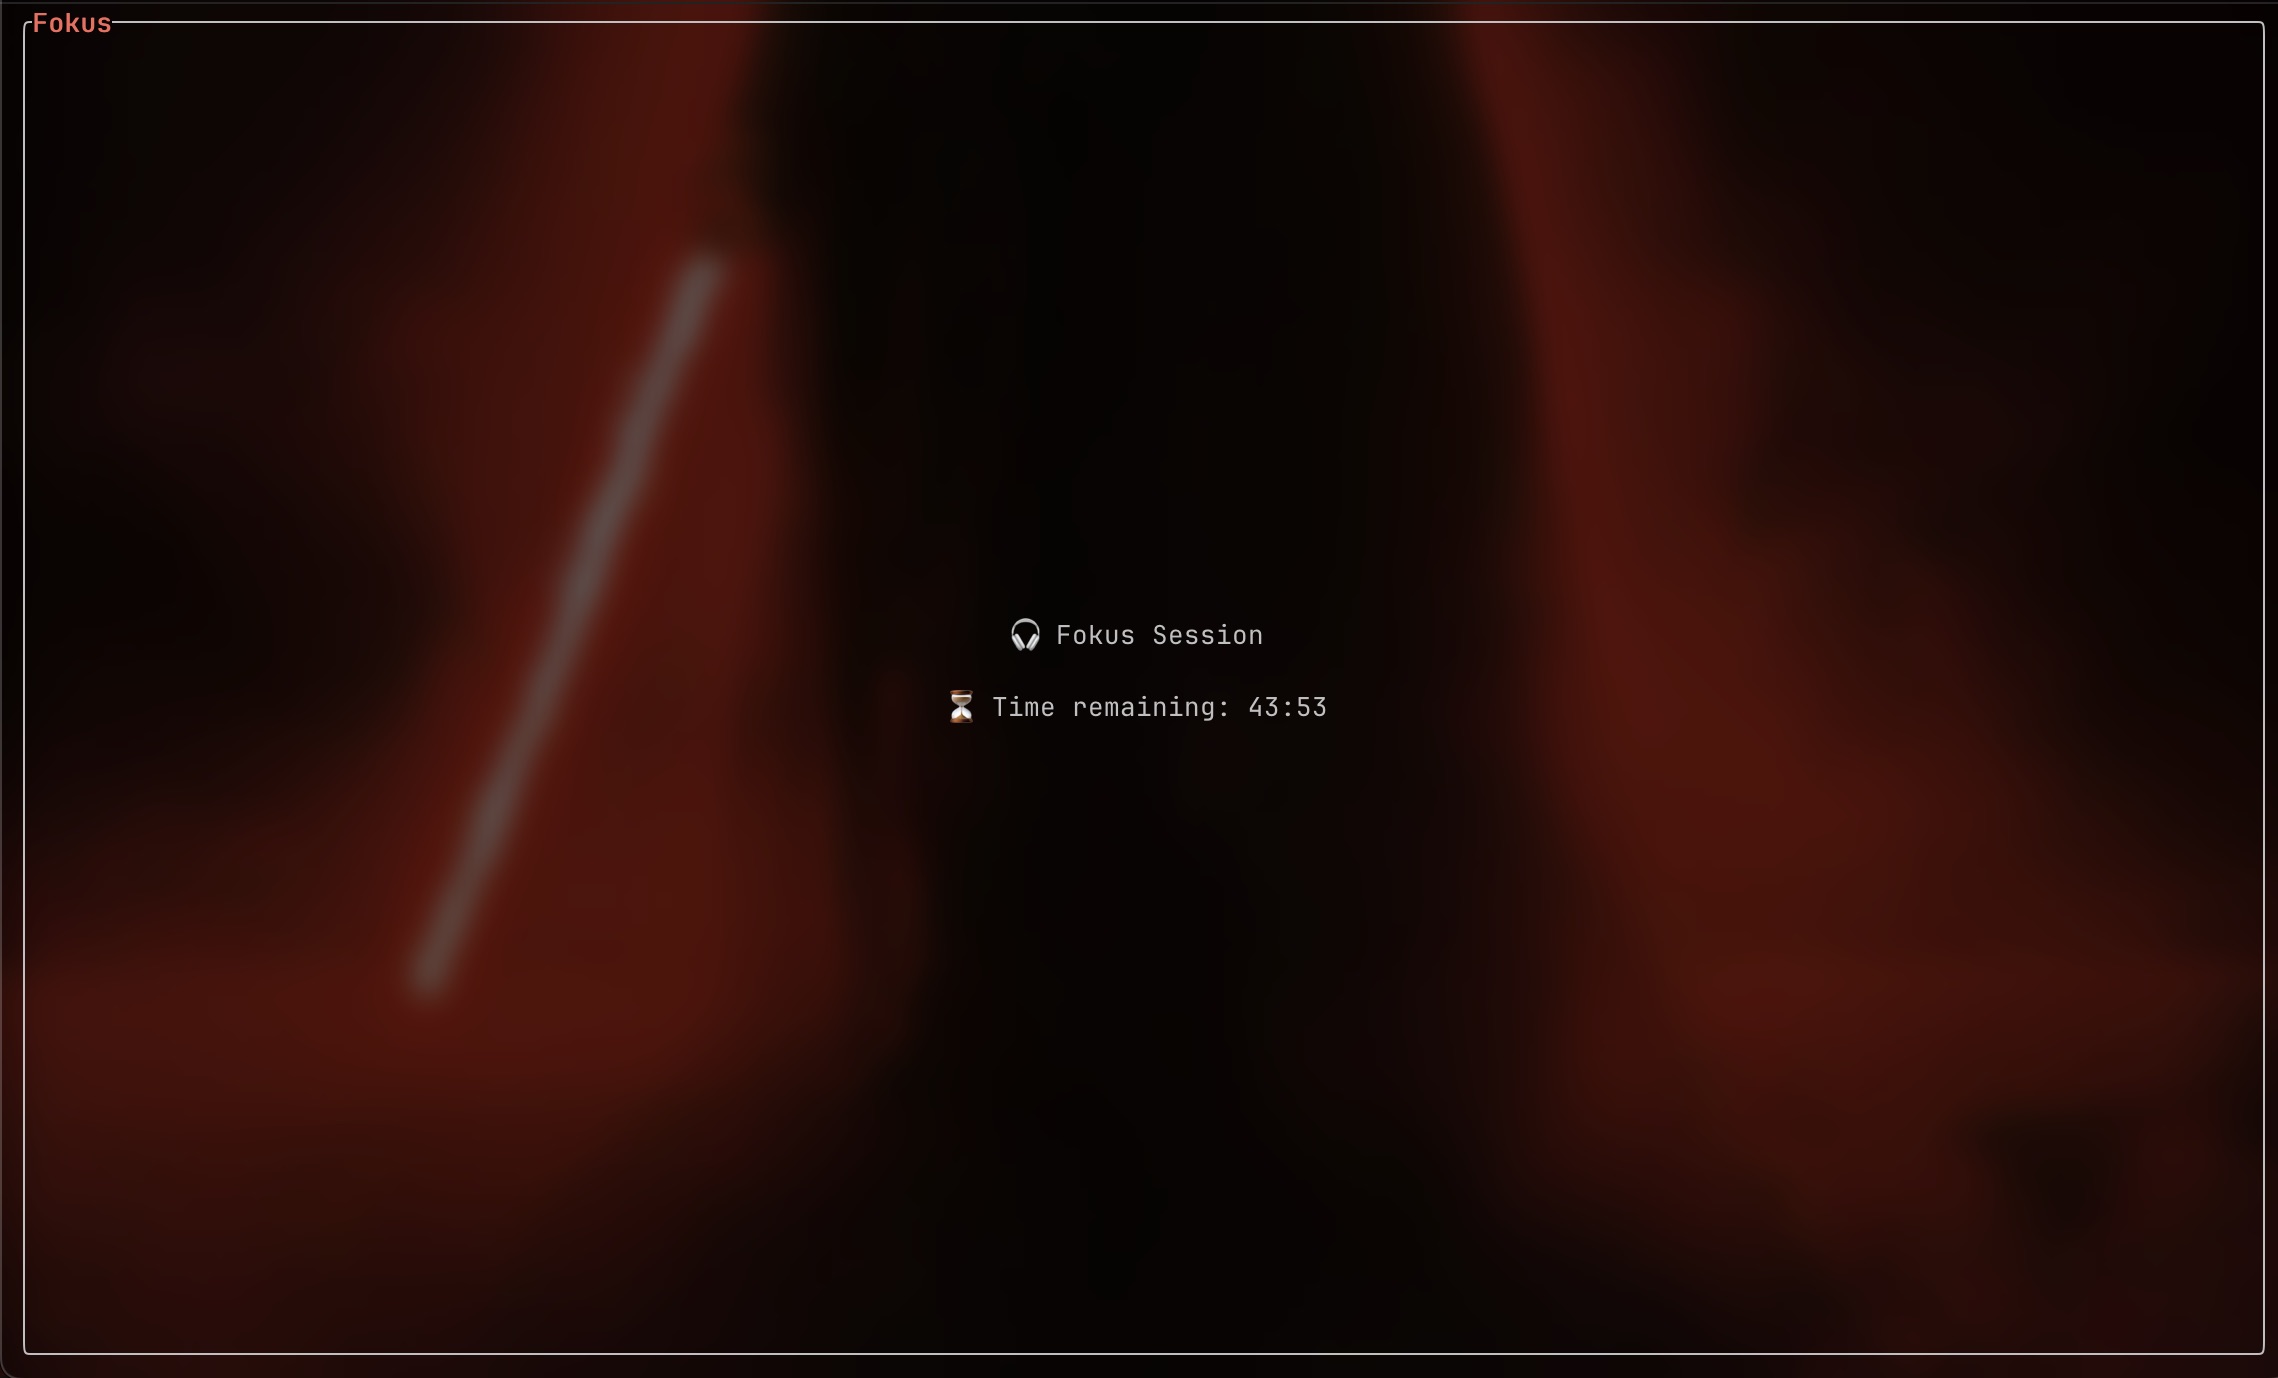
The End Result
Fokus does exactly what I need it to do. It sits in my terminal, uses basically zero resources, and alerts me when timers are finished. The entire compiled binary is smaller than a single hero image on a modern website. It starts instantly. It’s built with my own hands.
More importantly, I learned Rust. I had previously used Rustlings to get a grasp on how to write in this language, but what really cemented my knowledge was building a tool born from my own idea and something that I actually use every day. The frustrations were real, but so was the satisfaction when things would finally compile and work.
This project sold me on Rust completely. Now I’m incredibly excited to ditch Electron and try Tauri for my future web apps. I currently have a motorcycle data analysis tool built with Electron, but having learnt Rust, I’m eager to switch. But that’s a project for another time.
If you want to try out Fokus, you can simply run cargo install fokus, or you can check out the code here.